All procedures
Every procedure has its own video. Watch them all on YouTube.
 0:17
0:17
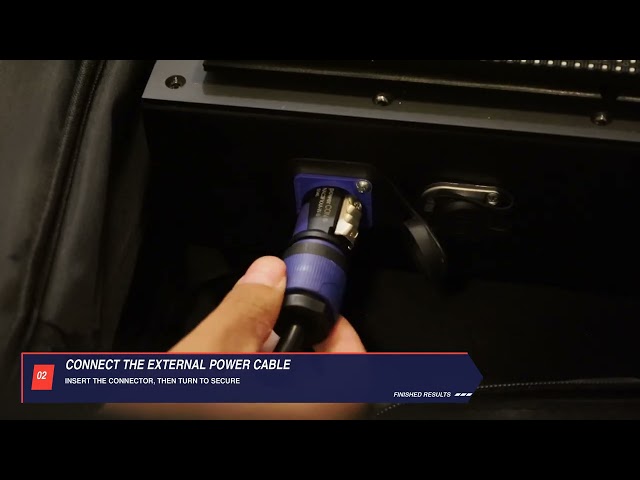
01Turning On Your Clock
Power onAlign, insert, then turn the blue connector.
 0:57
0:57
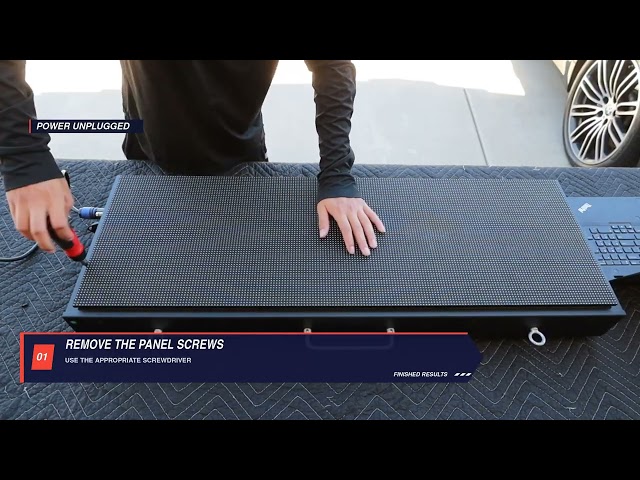
02Back Panel Removal
Power off & unpluggedPower off before removing panel screws.
 2:13
2:13
03Internal Inspection
Mixed: follow each stepPower only for visual indicator checks.
 1:20
1:20
04MicroSD Card Replacement
Power off & unpluggedDisconnect before card access.
 2:54
2:54
05LED Module Replacement
Power off & unpluggedDisconnect before cable or screw work.
 2:08
2:08
06Pi HAT Replacement
Power off & unpluggedDisconnect before terminal or board work.
 3:18
3:18
07Pi Power Cable Replacement
Power off & unpluggedDisconnect before terminal work.
 2:37
2:37
08Raspberry Pi Replacement
Power off & unpluggedDisconnect before board removal.
 2:44
2:44
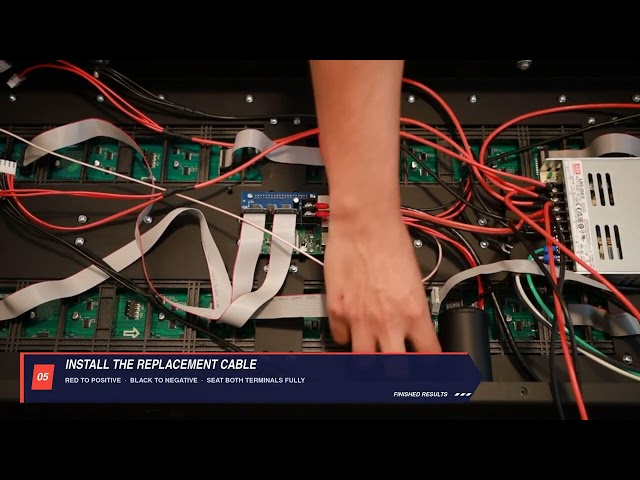
09LED Module Power Cable Replacement
Power off & unpluggedDisconnect before terminal work.
 1:28
1:28
10Incomplete Display Troubleshooting
Power onOnly for the connector checks shown.
 1:53
1:53
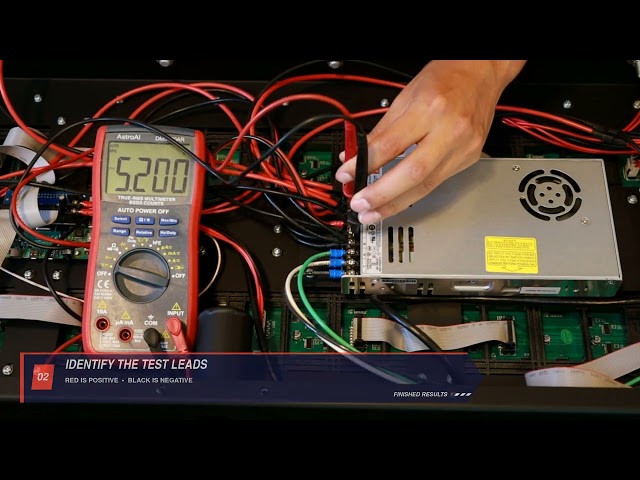
11Power Supply Voltage Check
Power onDC outputs only; avoid AC input terminals.
 1:43
1:43
12Ethernet Port Replacement
Power off & unpluggedDisconnect before cable or screw work.